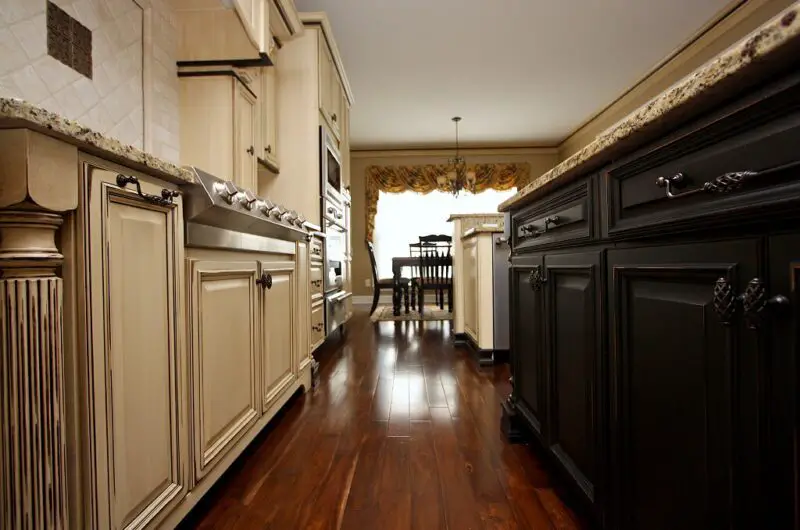
Kitchen cabinets endure a lot. From splattered sauces to oily fingerprints, they silently bear the brunt of our culinary adventures. Over time, one of the most stubborn foes they face is sticky grease—a greasy film that clings to surfaces, traps dust, and turns your once-pristine cabinets into an unsightly mess. If you’ve ever tried wiping it away with a damp cloth only to smear it around, you’re not alone. Cleaning sticky grease off kitchen cabinets requires the right techniques, tools, and a bit of patience. In this comprehensive guide, we’ll walk you through everything you need to know to restore your cabinets to their former glory, using both everyday household items and specialized cleaners. Let’s dive in!
Why Grease Builds Up on Kitchen Cabinets
Before we get into the cleaning process, it’s worth understanding why grease accumulates in the first place. Cooking generates tiny particles of oil and fat that become airborne—think frying bacon, sautéing onions, or simmering a rich stew. These particles settle on nearby surfaces, including your cabinets, especially if they’re near the stove. Over time, this grease mixes with dust, dirt, and moisture, forming a tacky layer that’s tough to remove with basic wiping.
Wooden cabinets, laminate surfaces, and even painted finishes can fall victim to this buildup, and neglecting it can lead to discoloration or damage. The good news? With the right approach, you can banish grease and keep your kitchen looking fresh.
Tools and Supplies You’ll Need
Preparation is key to tackling sticky grease effectively. Depending on the method you choose, here’s a list of supplies you might need:
- Dish soap: A grease-cutting staple found in most homes.
- White vinegar: A natural cleaner with degreasing properties.
- Baking soda: A mild abrasive for stubborn spots.
- Warm water: Helps loosen grease and makes cleaning easier.
- Microfiber cloths or soft sponges: Gentle yet effective for wiping surfaces.
- Rubber gloves: Protects your hands from harsh cleaners or hot water.
- Bucket or bowl: For mixing cleaning solutions.
- Spray bottle: Optional, for applying solutions evenly.
- Olive oil or furniture polish: For conditioning wood cabinets after cleaning (if applicable).
- Commercial degreaser: For tough grease buildup (e.g., Krud Kutter or Goo Gone Kitchen Degreaser).
- Old toothbrush: Handy for crevices and corners.
Gather your supplies, roll up your sleeves, and let’s get started.
Method 1: Dish Soap and Warm Water (The Classic Approach)
If the grease isn’t too thick, a simple solution of dish soap and warm water can work wonders. Dish soap is designed to break down grease on pots and pans, so it’s a natural fit for greasy cabinets too.
Steps:
- Mix the Solution: Fill a bucket or bowl with warm water (not boiling—just comfortably hot). Add a few drops of dish soap and stir until it’s sudsy.
- Test First: Before going all-in, dampen a microfiber cloth with the solution and test it on a small, inconspicuous area of your cabinet. This ensures the soap won’t damage the finish.
- Wipe Down: Dip your cloth or sponge into the solution, wring it out so it’s damp but not dripping, and gently scrub the greasy areas. Work in small sections to avoid overwhelming yourself.
- Tackle Stubborn Spots: For extra-sticky patches, apply a dab of undiluted dish soap directly to the spot and scrub with a soft sponge or toothbrush.
- Rinse: Use a clean, damp cloth to wipe away any soapy residue. Grease loves to cling to leftover soap, so don’t skip this step.
- Dry: Wipe the cabinets with a dry microfiber cloth to prevent water spots and restore a streak-free shine.
Pros: Inexpensive, uses items you already have, and safe for most cabinet finishes. Cons: May require elbow grease (pun intended) for heavy buildup.
Method 2: Vinegar Power (Natural and Effective)
White vinegar is a kitchen superhero. Its acidity cuts through grease and leaves surfaces sparkling without harsh chemicals. This method is ideal for eco-conscious cleaners or those sensitive to strong scents.
Steps:
- Prepare the Mixture: In a spray bottle or bowl, mix equal parts white vinegar and warm water (e.g., 1 cup vinegar to 1 cup water). Shake or stir to combine.
- Spot Test: Spray or dab a small amount on an out-of-the-way spot to ensure it’s safe for your cabinet material.
- Apply: Spray the solution onto the greasy areas or dampen a cloth with it. Let it sit for 1-2 minutes to break down the grease.
- Scrub Gently: Use a microfiber cloth or sponge to wipe the surface in circular motions. For tougher spots, add a sprinkle of baking soda to the cloth for a mild abrasive boost.
- Rinse and Dry: Wipe with a damp cloth to remove vinegar residue, then dry thoroughly with a clean towel.
Pros: Natural, affordable, and great for light to moderate grease. Cons: The vinegar smell can linger briefly (it fades as it dries), and it may not conquer thick, old grease alone.
Method 3: Baking Soda Paste (For Stubborn Grease)
When grease has had time to settle and harden, baking soda steps up to the plate. Its gritty texture scrubs away buildup without scratching most surfaces.
Steps:
- Make the Paste: Mix 2 tablespoons of baking soda with enough water to form a thick paste (think toothpaste consistency).
- Test It: Apply a small amount to an inconspicuous area and check for damage.
- Apply: Use a sponge or your fingers (gloved, if preferred) to spread the paste onto the greasy spots. Focus on areas with heavy buildup.
- Scrub: Gently rub the paste into the grease with a soft sponge or toothbrush. The baking soda will lift the grime as you work.
- Wipe Off: Use a damp cloth to remove the paste, then rinse with clean water.
- Dry: Buff the surface with a dry cloth for a polished finish.
Pros: Excellent for tough grease, non-toxic, and budget-friendly. Cons: Requires more effort and isn’t ideal for delicate finishes (test carefully on painted or lacquered cabinets).
Method 4: Commercial Degreasers (Heavy Duty Option)
For grease that laughs in the face of natural remedies, a store-bought degreaser might be your best bet. Products like Krud Kutter, Simple Green, or Goo Gone Kitchen Degreaser are formulated to dissolve grease quickly.
Steps:
- Read the Label: Follow the manufacturer’s instructions, including dilution ratios and safety precautions (ventilation, gloves, etc.).
- Spot Test: Apply a small amount to a hidden area to ensure it won’t strip the finish or discolor your cabinets.
- Apply: Spray or dab the degreaser onto the greasy spots. Let it sit for the recommended time (usually 1-5 minutes).
- Wipe: Use a damp cloth or sponge to scrub the area gently, lifting the grease away.
- Rinse Thoroughly: Remove any residue with a clean, damp cloth—some degreasers can leave a film if not rinsed well.
- Dry: Polish with a dry cloth for a streak-free result.
Pros: Fast-acting and powerful, perfect for neglected cabinets. Cons: Can be harsh on sensitive surfaces or skin; more expensive than DIY options.
Special Considerations by Cabinet Type
Not all cabinets are created equal, and the cleaning method you choose should match the material:
- Wood Cabinets: Stick to mild solutions like dish soap or diluted vinegar. Avoid soaking them—wood can warp or lose its finish if overexposed to water. After cleaning, apply a small amount of olive oil or furniture polish with a soft cloth to restore shine.
- Laminate Cabinets: Most methods work here, but avoid abrasive scrubbers (like steel wool) that can scratch the surface.
- Painted Cabinets: Use gentle cleaners (dish soap or vinegar) and test thoroughly—harsh chemicals or scrubbing can chip paint.
- Metal Cabinets: Vinegar or degreasers work well, but dry immediately to prevent rust.
If you’re unsure about your cabinet type or finish, err on the side of caution with a mild solution and minimal water.
Tips to Prevent Grease Buildup
Cleaning grease is one thing—keeping it at bay is another. Here are some proactive steps to minimize future buildup:
- Wipe Regularly: A quick swipe with a damp cloth after cooking prevents grease from hardening.
- Use a Splatter Guard: Place it over pans while frying to catch oil splashes.
- Ventilate: Run your range hood or open a window to disperse airborne grease.
- Apply a Protective Layer: For wood cabinets, a light coat of furniture wax (applied sparingly) can create a barrier against grease.
Consistency is key—spending five minutes a week on upkeep beats hours of deep cleaning later.
Troubleshooting Common Problems
- Streaks Remain: You might have leftover soap or cleaner residue. Rinse again with clean water and dry thoroughly.
- Grease Won’t Budge: Try a stronger method (e.g., baking soda or a degreaser) or let the solution sit longer before scrubbing.
- Finish Looks Dull: Over-cleaning might have stripped the shine. For wood, a conditioning oil can help; for other surfaces, consult a professional if damage persists.
Final Thoughts
Cleaning sticky grease off kitchen cabinets doesn’t have to be a daunting chore. Whether you opt for the simplicity of dish soap, the natural punch of vinegar, the grit of baking soda, or the power of a commercial degreaser, there’s a solution for every level of grime. The key is to match your method to your cabinet type, test before you commit, and follow up with regular maintenance. With a little effort, your kitchen can reclaim its sparkle, and those cabinets will look as good as new—or at least as good as they did before that bacon-frying marathon. So grab your supplies, put on some music, and tackle that grease like the kitchen warrior you are!
